Good Morning and Happy Friday!
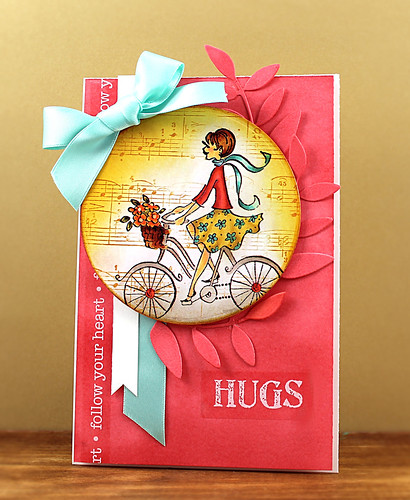
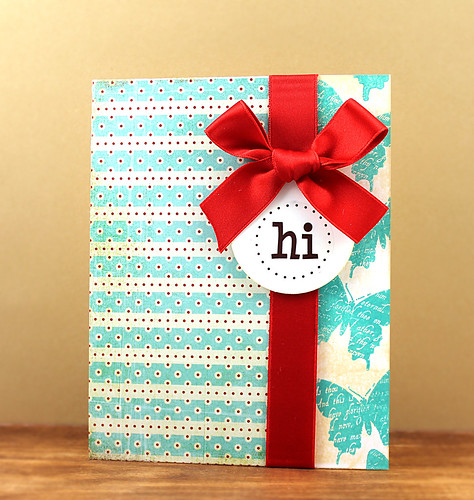
Jamie with you to share a fun bow tutorial that you can use on a variety of projects, even your gift wrapping! Today I am using the bow on a simple Thank You card to dress it up!
Have a look...

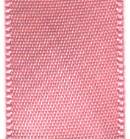
I used the 7/8" Chevron Orange/Hot Pink Ribbon and the
Here is the tutorial:

1. Cut a 20" piece of the 7/8" Chevron Orange/Hot Pink Ribbon and fold back and forth as shown.
2. Place a piece of twine under the ribbon and then pull tightly and knot in the center. Trim your ribbon ends in "V" shapes.
3. Cut a 8" piece of 7/8" Double Ruffle Hot Pink Ribbon and place it underneath your bow.
4. Knot the 7/8" Double Ruffle Hot Pink Ribbon around the bow then tie your twine to make a small bow on top of the knot.
These bows are really quick to make and they really bring a lot of
attention to your projects and gifts!

Thanks so much for stopping by!


.jpg)