Hi all! Nicole here for another home decor idea. I recently have been adding to my gallery wall above my craft/office alcove that is just off the living room. It's a big traffic area of our house and I hope that people when passing through look at my wall and not the mess that may be on the desk . . . I can hope right? ;)
Today I wanted to show you how I put together this fun wall decor piece that I'm still trying to decide where I want to hang on the above wall.
I recently picked up a set of frames at our local discount store. It kind of reminds me of a dollar store, but better and often has some great home decor items. The set included three white frames and two 6x6 square decorative items that were made to overlap the frames to hang in a little boys room. At first I thought I would toss them and then the crafter in me thought otherwise. So glad I kept them.
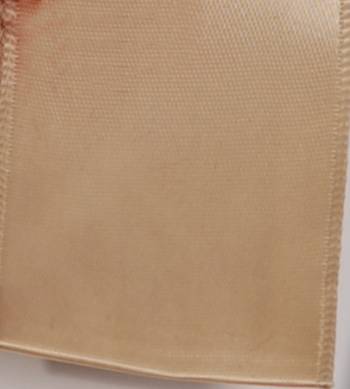
I started with a piece of chipboard (cut to fit the top of the "canvas") and this gorgeous satin wired ribbon in Sable.
I cut eight lengths of ribbon that were about 1.5 - 2 inches longer than the width of the chipboard.
I took each ribbon and laid it onto the chipboard and bent the ends over to the back and glued them down.
The width allowed me to lay four lengths of ribbon side by side along the chipboard piece. Here it is with those four lengths of ribbon and the ends firmly glued to the back of the chipboard.
Now the other four pieces of ribbon you'll weave in and glue those ends onto the back. Alternating each ribbon to create a checker board effect in the ribbon.
The finished front and back.
I now glued the chipboard piece to the canvas piece with Helmar 450 Adhesive.
Press the chipboard into the glue and set aside to dry.
As the finishing touch I cut with my silhouette word art from black glitter card stock.
Because the woven top of the ribbon has a little dimension to it I attached the die cut words with Helmar Scrap Dots. It raised the die cut just enough to stand out from the ribbon to make it pop.
Here is the finished canvas.
I love the woven background. It adds so much interest to a little area and is so quick to put together. This little canvas took about 30 minutes from start to finish. What a change from that little dump truck right?!
I hope I inspired you to up cycle some of your own decor. Thanks for stopping by the blog today.
Ribbon used on this project:
SVG by Rivka Wilkins from digiplayground.com


0 comments:
Post a Comment